Key takeaways
Heading 1
Heading 2
Heading 3
Heading 4
Heading 5
Heading 6
Lorem ipsum dolor sit amet, consectetur adipiscing elit, sed do eiusmod tempor incididunt ut labore et dolore magna aliqua. Ut enim ad minim veniam, quis nostrud exercitation ullamco laboris nisi ut aliquip ex ea commodo consequat. Duis aute irure dolor in reprehenderit in voluptate velit esse cillum dolore eu fugiat nulla pariatur.
Block quote
Ordered list
- Item 1
- Item 2
- Item 3
Unordered list
- Item A
- Item B
- Item C
Bold text
Emphasis
Superscript
Subscript

According to a Thompson Reuters, respondents who use document automation for lease agreements (22%) report that they have time to Leverage workflows to develop new business models with clients and Win new clients with better business development.
Staying organized is a cornerstone of success.
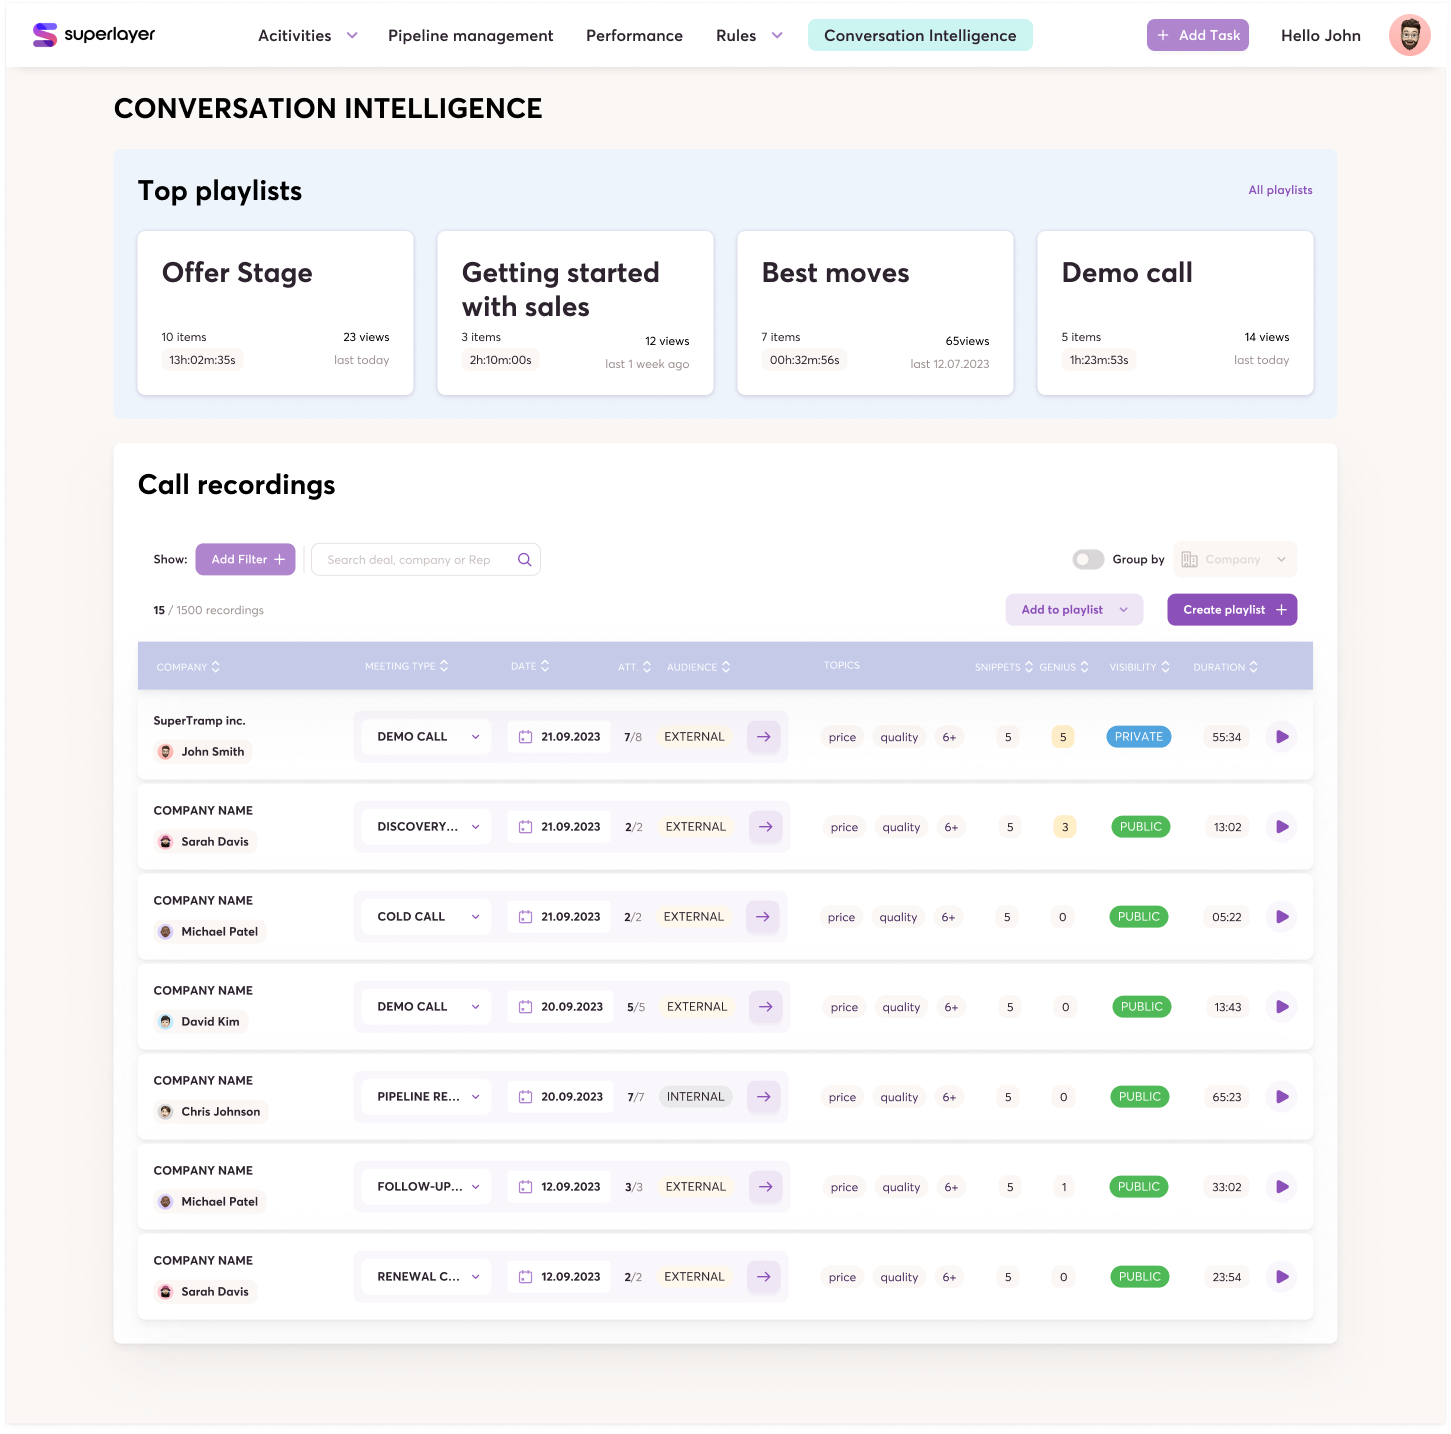
Introducing our Playlist feature, a powerful tool designed to make managing your call recordings easier and more efficient than ever will help you streamline your sales processes and get the most out of your meetings. In this guide, we'll show you how to harness the full potential of this feature to supercharge your sales game.
Getting Started:
- Activate Conversation Intelligence
To dive into the world of playlists, ensure that your Conversation Intelligence service is active. This feature is the key to unlocking Superlayer's Playlist functionality.
- Setting the Stage
Before you can create a playlist, you'll need to ensure that your recording bot settings are configured correctly. If you're planning to record a specific meeting, make sure the bot is set to capture it. If not, don't worry, you can invite the bot directly from the meeting page. Simply open Superlayer, head to your agenda, and click on the meeting event you want to record. Your bot will be there to ensure no crucial moment is missed.

Building Your Playlist
Once you have one or more call recordings in your library, you're ready to start creating a playlist. The Playlist feature can be found in the "My Library" section, just before the recording list. Here's how to create a playlist:
1. Select Your Content: Begin by choosing the entire videos or snippets you want to add to the playlist. This allows you to customize the content and make it tailored to your needs.
It's important to note that playlists are public, and you can only add public videos to them. This means that anyone within your team can watch the playlist once you've created it.
2. Personalize Your Playlist: Give your playlist a name and a description. This step is crucial, as it provides clarity to anyone who accesses the playlist, ensuring they understand its purpose.
Done! Simple as that. Your playlist is now available.

Customization and Management
Superlayer's Playlist feature isn't just about creating collections; it's about making them work for you. You have the flexibility to edit playlist titles, descriptions, and content as your needs evolve. And if you no longer need a playlist, you can easily delete it. It's all about giving you full control over your organization and content management.
Practical Applications
Wondering how to make the most of your playlists? Here are a few ideas:
- Coaching: Use playlists to collect recordings and snippets for coaching and training purposes, making it easy to share insights and best practices with your team.
- Deal Storytelling: Create playlists to craft compelling narratives for your deals. By organizing related recordings and snippets, you can tell the story of your sales journey with precision.
Conclusion
Stay organized, share knowledge effortlessly, and supercharge your sales game with this powerful tool.


